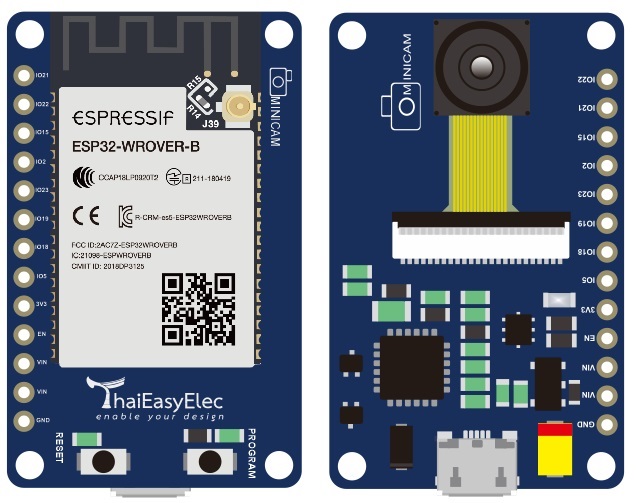
ESPIno32CAM : อ่าน QR Code
ตัวอย่างการใช้งาน ESPIno32CAM เพื่อถ่ายภาพ และ อ่าน QRCode
Note !!! QR code ที่นำมาใช้ควรมีขนาดอย่างน้อย 3 x 3 cm
เริ่มต้นการทดลอง
– เปิดโปรแกรม Arduino IDE
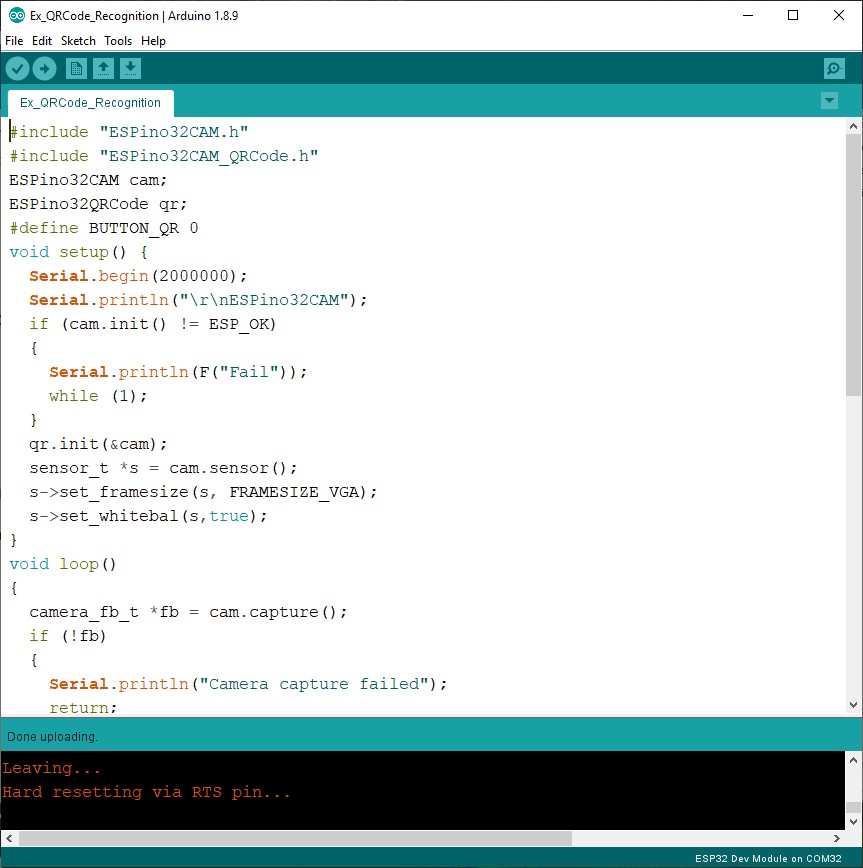
– เปิดตัวอย่าง File > Example >ESPIno32CAM > Ex_QRCode_Recognition
– ตั้งค่า Arduino IDE ให้ใช้งานกับ ESPIno32CAM (Link)
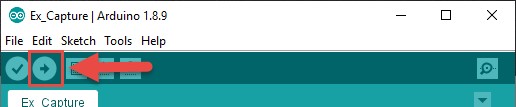
– Upload Program ลงไปยัง ESPIno32CAM
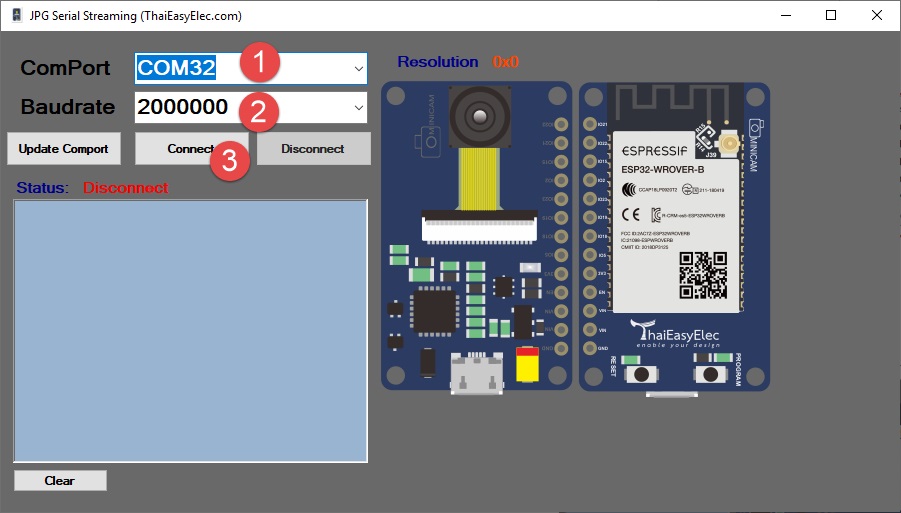
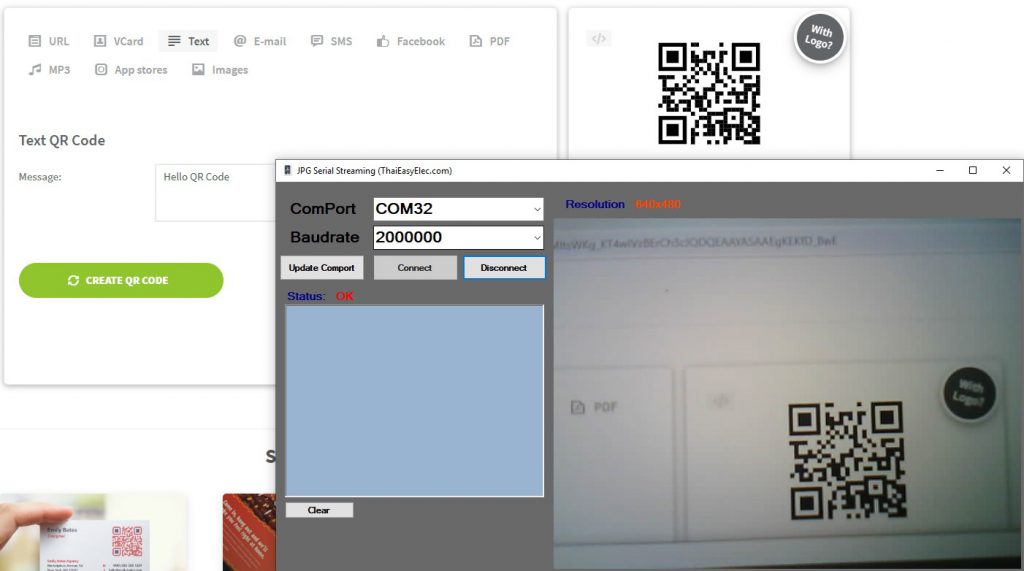
– เปิด Program JPG Serial Streaming
1 เลือก Comport ให้ตรงกับ Comport ของบอร์ด ESPIno32
2 เลือก Baudrate ให้ตรงกับ Baudrate ใน Code Arduino (Default =2000000 )
3 กด Button Connect
!!! ก่อนกด Button Connect จะต้องปิด Program อื่นๆที่ใช้งาน Comport อยู่เช่น หน้าต่าง Serial Monitor ของ ArduinoIDE
– โปรแกรม JPG Serial Streaming จะแสดงรูปภาพที่ถ่ายจากบอร์ด ESPIno32CAM บน PictureBox
– ให้นำกล้องถ่ายภาพ ที่มี QR Code หรือ สร้าง QR Code ขึ้นมาเอง จาก https://www.qr-code-generator.com
– กด Button Program เพื่อถ่ายภาพ
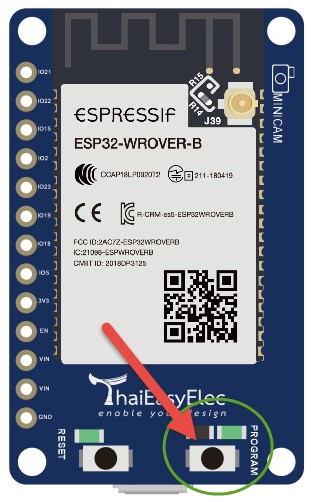
– โปรแกรมจะนำภาพขณะที่กด Button Program ไปประมวลผลอ่านค่า QR Code และ แสดงผลลัพธ์ ออกมาในส่วนแสดงข้อความบน Program JPG Serial Streamming

คำอธิบาย Code Program
#include "ESPino32CAM.h"
#include "ESPino32CAM_QRCode.h"
ESPino32CAM cam;
ESPino32QRCode qr;
#define BUTTON_QR 0
void setup() {
  Serial.begin(2000000);
  Serial.println("\r\nESPino32CAM");
  if (cam.init() != ESP_OK)
  {
    Serial.println(F("Fail"));
    while (1);
  }
  qr.init(&cam);
  sensor_t *s = cam.sensor();
  s->set_framesize(s, FRAMESIZE_VGA);
  s->set_whitebal(s,true);
}
void loop()
{
  camera_fb_t *fb = cam.capture();
  if (!fb)
  {
    Serial.println("Camera capture failed");
    return;
  }
  Serial.write(fb->buf, fb->len);
  dl_matrix3du_t *image_rgb;
  if(cam.jpg2rgb(fb,&image_rgb))
  {
     cam.clearMemory(fb);
     if(!digitalRead(BUTTON_QR))
     {
        cam.printDebug("\r\nQR Read:");
        qrResoult res = qr.recognition(image_rgb);
       if(res.status)
       {
          cam.printDebug("");
          cam.printfDebug("Version: %d", res.version);
          cam.printfDebug("ECC level: %c",res.eccLevel);
          cam.printfDebug("Mask: %d", res.mask);
          cam.printDebug("Data type: "+ qr.dataType(res.dataType));
          cam.printfDebug("Length: %d",res.length);
          cam.printDebug("Payload: "+res.payload);
       }
       else
          cam.printDebug("FAIL");
     }
  }
  cam.clearMemory(image_rgb);
}
บรรทัดที่ 1: ประกาศใช้ Library ESPIno32CAM
บรรทัดที่ 2: ประกาศใช้ Library ESPino32CAM_QRCode
บรรทัดที่ 3: สร้าง Object cam
บรรทัดที่ 4: สร้าง Object qr
บรรทัดที่ 5: กำหนดใช้ BUTTON_QR ใช้ IO0
บรรทัดที่ 9: Initial โมดูลกล้อง
บรรทัดที่ 14: Initial QR code
บรรทัดที่ 16: กำหนดให้ถ่ายภาพขนาด VGA (640×480 Pixel)
บรรทัดที่ 17: เปิดใช้ white balance
บรรทัดที่ 21: ถ่ายรูปแล้วเก็บ JPG File ยัง fb
บรรทัดที่ 27: ส่งรูปภาพ JPG File ออกไปทาง Serial เพื่อไปแสดงผลยังโปรแกรม JPG Serial Streaming
บรรทัดที่ 29: แปลง JPG File ให้อยู่ในรูปแบบ RGB (R 8 bits , G 8 bits , B 8 bits) แล้วเก็บลงใน dl_matrix3du_t *rgb888
บรรทัดที่ 31: คืนค่า Memory ตัวแปล fb ที่เก็บ jpg ให้ส่วนกลาง
บรรทัดที่ 32: ตรวจเช็คว่ามีการกด Button Program หรือไม่
บรรทัดที่ 34: ส่งข้อความ “QR Read:” ผ่านทาง Serial ไปแสดงข้อความบนโปรแกรม JPG Serial Streaming
บรรทัดที่ 35: นำภาพที่แปลงเป็น RGB 888 ส่งเข้าไปใน function recognition เพื่ออ่าน QR code ในรูป และ จะReturn ผลลัพธ์มาเก็บใน Structure qrResoult res
บรรทัดที่ 36: ตรวจสอบ res.status ถ้าหากเป็น true คือ สามารถอ่าน QR code ได้
บรรทัดที่ 39-44: แสดงค่าที่อ่านจาก QR code
บรรทัดที่ 50: คืน Memory